ShopDreamUp AI ArtDreamUp


Suggested Deviants


Suggested Collections


You Might Like…


Description
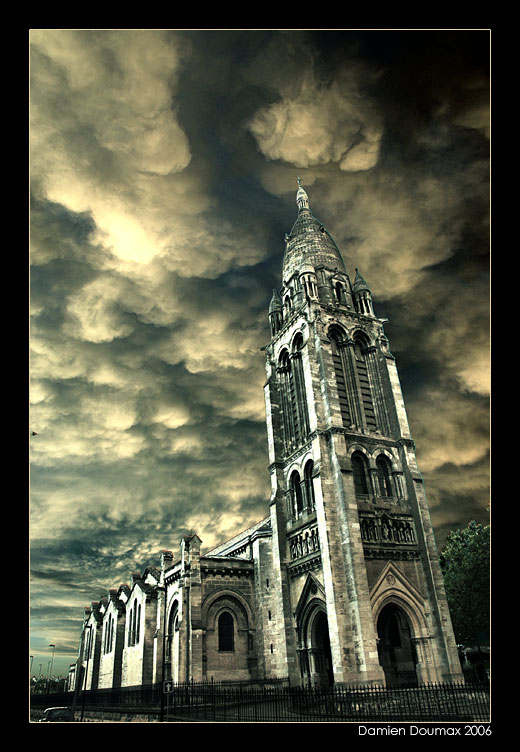
One more photo from the Ste Marie's Church near my home.
i did a new color process.
quite complicated, but the results are quite good, i think... a bit "extreme" contrast, but interesting to experiment.
for that shot i divided the contrast on two different parts, the church and the sky.
i used the Image > operations of Photoshop to get a blue/red greyscale image, and i raised the contrast of each parts separately, then i recolored the image with the original photography.
not easy to explain, i know many of you want a tutorial, i'll try to make some soon.
oh, and i'm sure you noticed i reply rarely to the comments, it's simple, i loosed my subscription, so the message center is boring now... as soon as i have some cash i'll buy one, and be able to reply more easily ...
sorry for the lack of replies... please note me if you want my express answer.
take care everyone
Image size
520x752px 100.43 KB
© 2006 - 2024 kil1k
Comments192
Join the community to add your comment. Already a deviant? Log In
the sky looks like some brilliant watercolor, with the church in ink... gorgeous!